How to install kali-linux and stop sleep mode
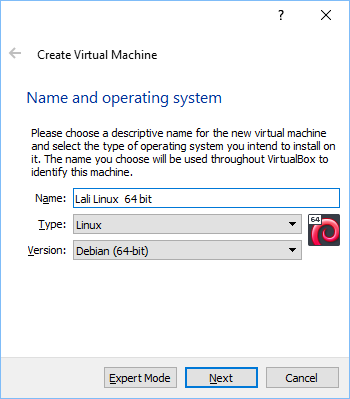
How to install Kali-Linux. I will be using the latest versions of Oracle VM virtual box and Kali-Linux. To start the installation you will have to click on the download for the virtual box (do a Google search for Oracle's VM virtual box), do the same for the Kali-Linux. On the install program for the VM box, once installed then open the program. The first thing to do is to click on the icon which is called new. I will now go through the install process and dictate this content while doing so. So now, I clicked on the icon called new. A box will open which says create virtual machine. Fill in the fields name,type and version. See example below.
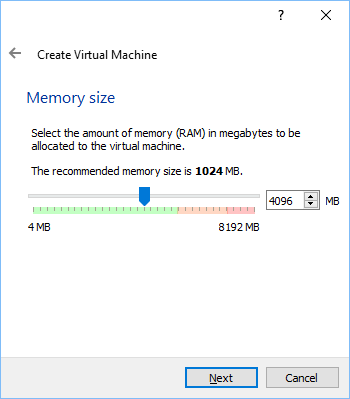
 Of course, the name field can be anything you want. Once filled in, click on next. The next screen you will see will ask you for the memory size. Depending on how much memory you have in your machine, allocate enough memory but not so much as to deprive your host operating system. In my
case, I selected 4096 MB. Try not to go into the red area but to stay in the green. Once satisfied, click next. See image below:
Of course, the name field can be anything you want. Once filled in, click on next. The next screen you will see will ask you for the memory size. Depending on how much memory you have in your machine, allocate enough memory but not so much as to deprive your host operating system. In my
case, I selected 4096 MB. Try not to go into the red area but to stay in the green. Once satisfied, click next. See image below:
The next dialog box click on the button to create a virtual hard disk and click create. The next box, press radio button that says the VDI and then click next. In the next box for storage on a physical hard disk choose the radio button for dynamically allocated. Then click next. The next dialog box you have to choose how much file space you can afford to use for the guest
OS (kali-Linux). I chose 512 GB since I have 2 TB of disk space. Now click on create. This should take you back to the main screen of the virtual box manager. Now click on the green arrow start button.
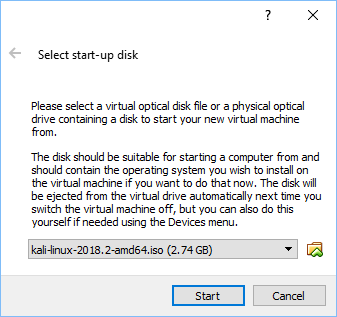
you now need to select a startup disk. Click on the little icon folder to search for the ".ISO" file, which is, the downloaded Kali-Linux file. See image below.
You should now see the Kali boot menu disk. I selected the first option.
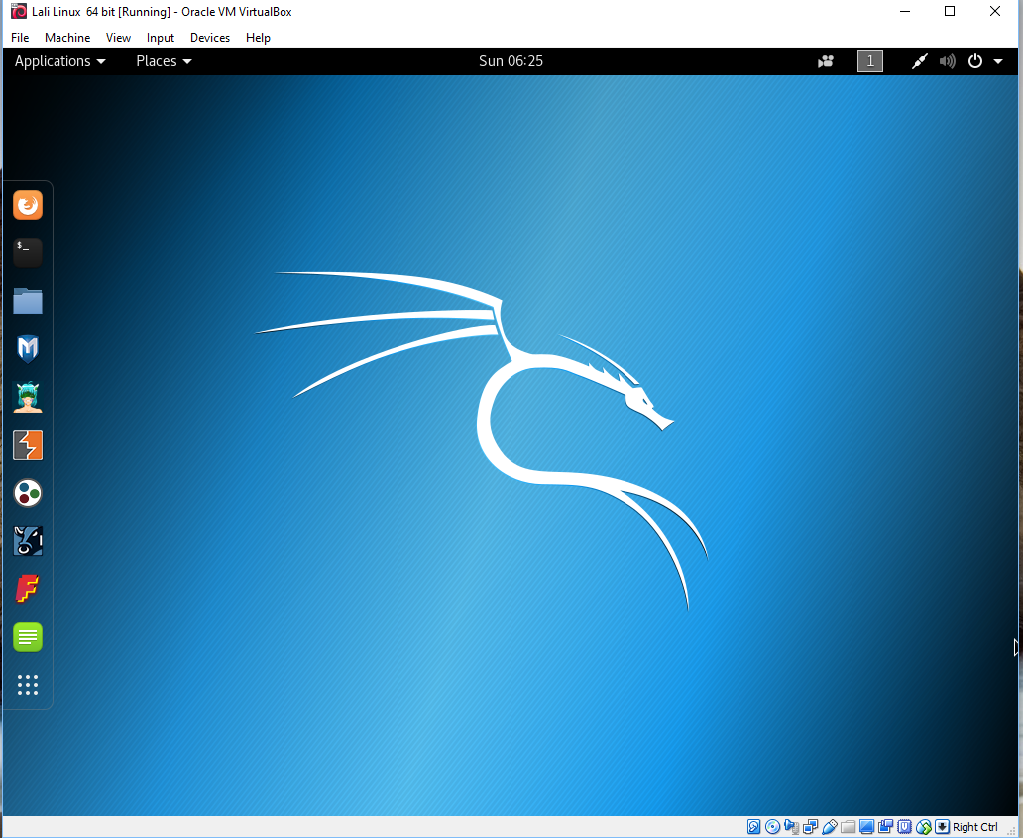
Eventually, you will see the Kali OS. This is a lot different than the Back track 5 system I described earlier. In fact, this is a superior penetration tool as it has a lot of tools to attack other machines. Woopie!
Something else to notice, the capture of the mouse pointer. You use the right hand side Ctrl button on your keyboard to manage the mouse pointer. As
I was typing this the KALI OS went to sleep only after a few minutes.
This is no good as it will screw up any long running penetration attempts.
To fix this problem, press the enter key so you can login again. Once you
get into KALI graphic interface look up at the right hand corner an click
on the power button (the little thingy that looks like a circle with a toggle switch) and then click on the strange looking symbol (lower left hand
side). This should take you to the settings window. Now click on Power setting and you should get an input form to set the "power saving" and the
"suspend and power button". I set the "power saving" from 5 minutes to "never" from the drop down menu. Now click on the word "on" in the box called "suspend and power" (if it already says off - you are done). If it
does indeed say on then click on the word "on" and you will get a little
dialog box where you can toggle this setting to either "on" or "off", by
using the little slide bar on the right side of this little dialog box.
Using the slide bar you can see that it will change to "off". Close this little window and exit out of the settings menu by closing the
settings window. You should be back to the KALI desktop. It should now
stay on forever, ie, not go to sleep. You do not want the sleep mode ever
to appear as I said before, it will kill any long running penetration probing. So, hopefully, your Kali OS should look like the image below.
okay, now that we have Kali Linux, what next? I clicked on the upper bar the icon that says applications. And guess what the image shown below has given us. Why It is our old friend Metasploit on the right side drop down box.
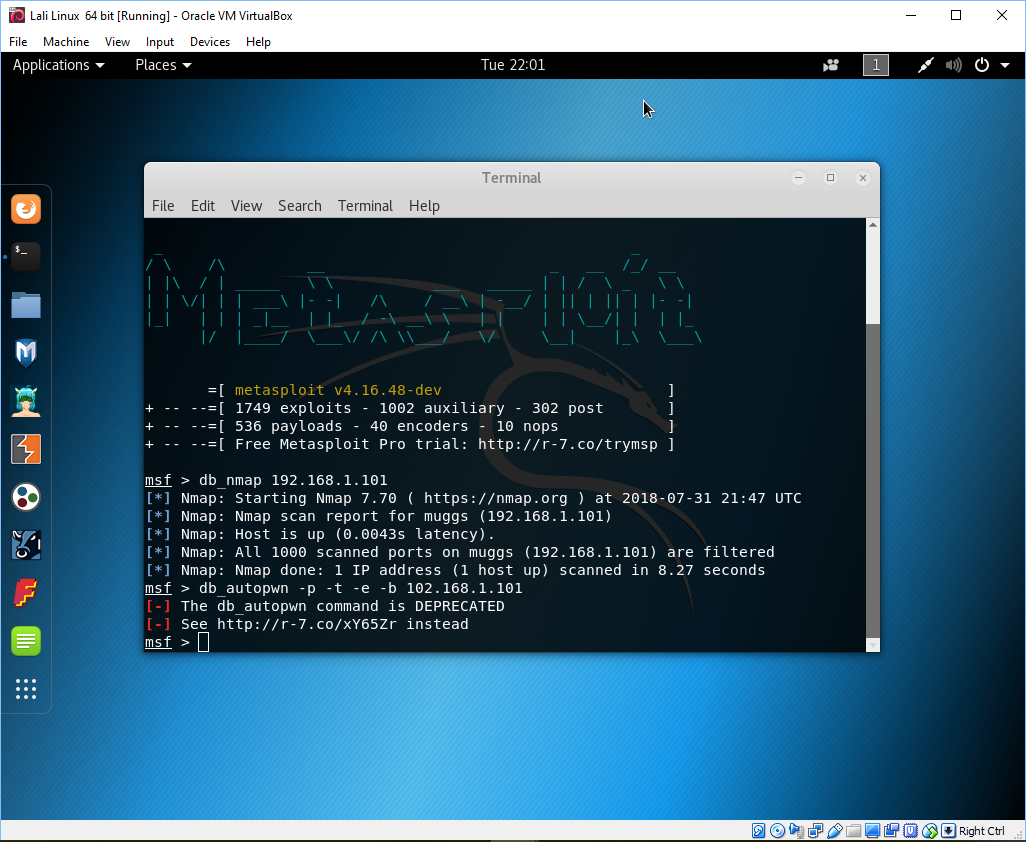
Ah, but look at all the other exploration tools. I have no idea what these are, but I will start my investigation soon enough. Anyway, I started the metasploit tool and got the interactive terminal window. At the msf prompt I typed in the following: db_nmap 192.168.1.101 ( my xp box ).
Next
I typed
db_autopwn -p -t -e -b 192.168.101
Guess what? this tool
is deprecated and I needed to go to
https://r-7.co/xY65Zr
See image below pointing to the web page:
 So off I went to this webpage and it told me to go to this webpage
and copy a file from https://raw.github.com/neinwechter/metasploit-framework/autopwn-modules/plugins/db_autopwn.rb
save as .rb
place in /root/.msf4/plugins. To do this I used my web browser to view the page and clicked on "file > save as" and gave it the name db_autopwn.rb.I uploaded this file to pctechnician.com so when I want to download the
.rb file I didn't have to type in the long path name (raw.github.com..etc...). Now all I have to do is use the command from
the /root/.msf4/plugins directory:
So off I went to this webpage and it told me to go to this webpage
and copy a file from https://raw.github.com/neinwechter/metasploit-framework/autopwn-modules/plugins/db_autopwn.rb
save as .rb
place in /root/.msf4/plugins. To do this I used my web browser to view the page and clicked on "file > save as" and gave it the name db_autopwn.rb.I uploaded this file to pctechnician.com so when I want to download the
.rb file I didn't have to type in the long path name (raw.github.com..etc...). Now all I have to do is use the command from
the /root/.msf4/plugins directory:
wget "https://www.pctechnician.com/db_autopwn.rb"
which then uploaded to my current directory i.e. /root/.msf4/plugins the
db_autopwn.rb file. Now this file is neatly tucked away for the next step
which is to add db_autopwn to metasploit. You can see the results in the image below:
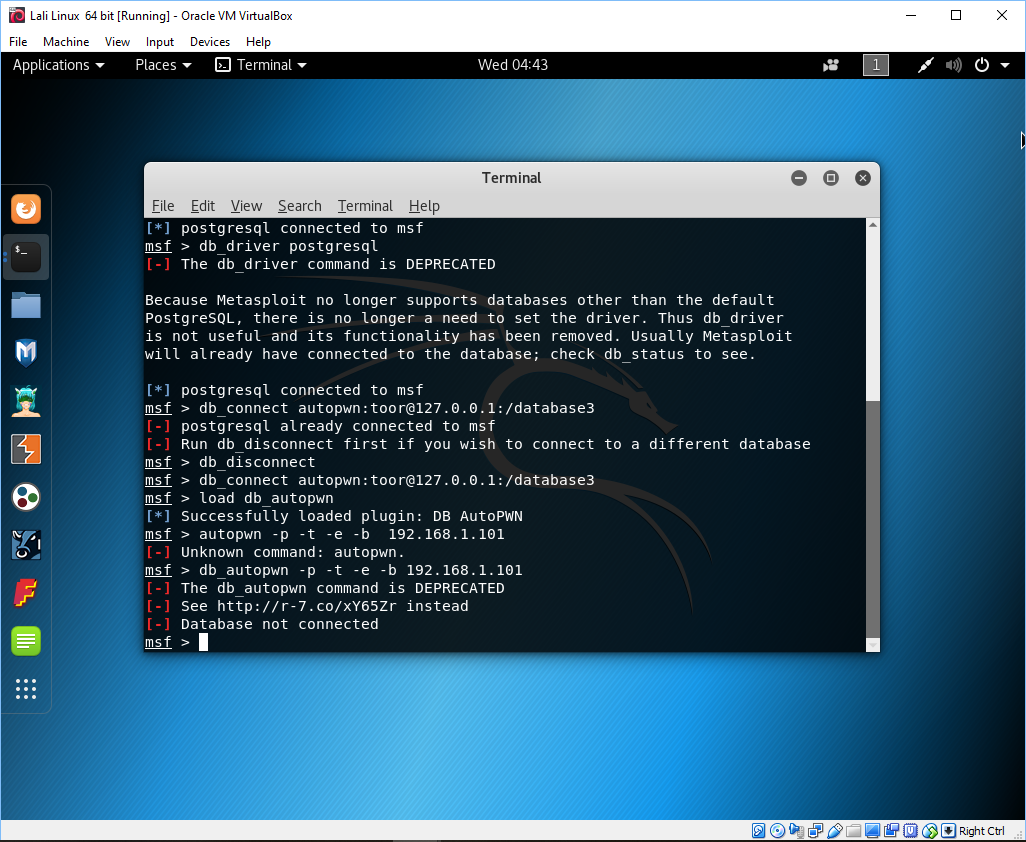 Well it didn't work as you can see, or all I can say is phooey. So close but no cigars. And there is that word deprecated again double phooey. Now what?
As you can see the plugin was successfully loaded, but still didn't run the autopwn tool. It seems I will not be
able to use this tool - but what? back to you soon.
Just an aside, this exercise was not completely in vain, I learned about the command "wget" which is pretty neat as
it allows me to download any file from a web server ( of course you need to know the name of the file ).
It is like using the unix copy command "cp" where the source file is a URL.
So now I need to find a way to use an equivalent tool for autopwn for Kali-Linux.
Okay, I found a penetration tool to replace the deprecated autopwn tool, it is
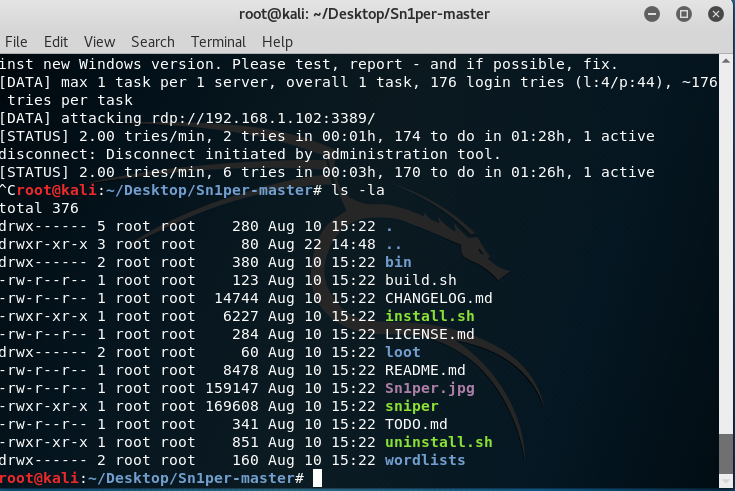
called sn1per (yes that is the number one in the name). Just look on google for a download of this program. Once downloaded I ran this program . After the file is unzipped you need to run the install.sh command (remember this install.sh command needs to have the execute bit turned on). MY installed version is in a directory "~Desktop/Sn1per-master" and the contents should look like this
Now run the install.sh command ( remember the execute bit). Once this completes
you are now ready to run the ./sniper program - yes this time that is an "i".
Here is how I ran mine to scan a computer on my network
./sniper -t 198.168.1.102 -b
This program runs awhile but eventually I got the login screen from my
networked computer - a windows 7 machine.
The -b option is for brute force, and the -t says the target is to follow.
see image below:
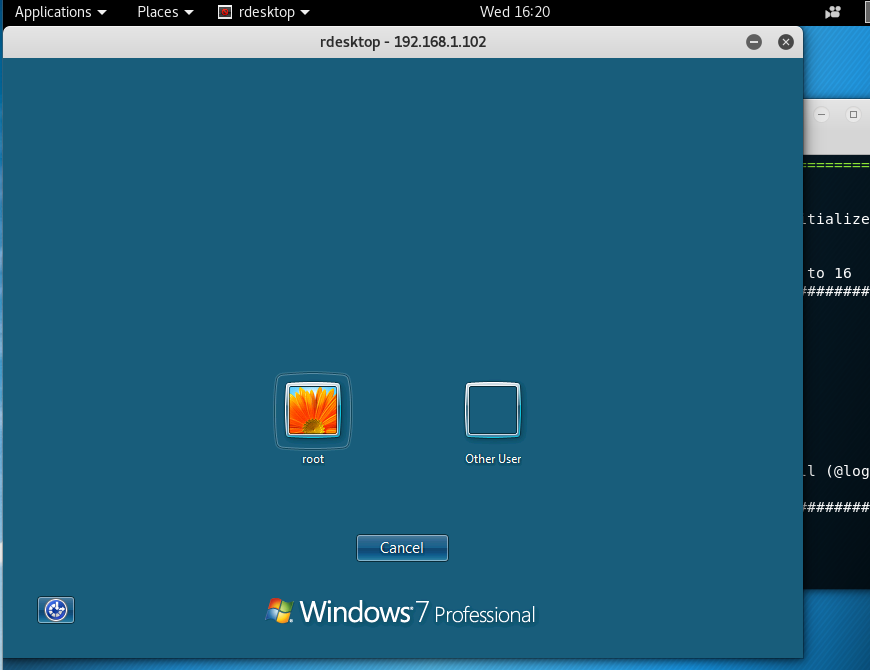
This ran awhile to get to this point. The windows 7 logon screen but there is
no "root" user and the other one is unknown. - This was it, I could not go any further, and then the logon screen disappeared. Almost in but no cigars!,
as Monica would say to Bill.
|